Configuring planning
Use the Configuration utility to do the following:
- Set the current fiscal period for planning
- Set plan file visibility options
- Set workday period options
These drivers are usually set during the initial system setup or annually, but the administrator may need to make changes.
NOTE: The Rolling Forecast Global Driver Management role is required for changing these settings.
To configure planning drivers:
- In the RF Admin task pane under Setup, double-click Configuration Utility.
-
Complete the following sections:
IMPORTANT: Be aware that if you make changes to the Workday Periods or the RF Period after processing plan files, the plan files will need to be reprocessed for the changes to appear in reports.
This tab calculates the workdays, days, and hours in period. Data from the General and Visibility Options tabs flows into this tab.
NOTE: The data displayed changes based on the current settings for the year and forecast period. If you change the period, the previously saved data shifts to match the new period.
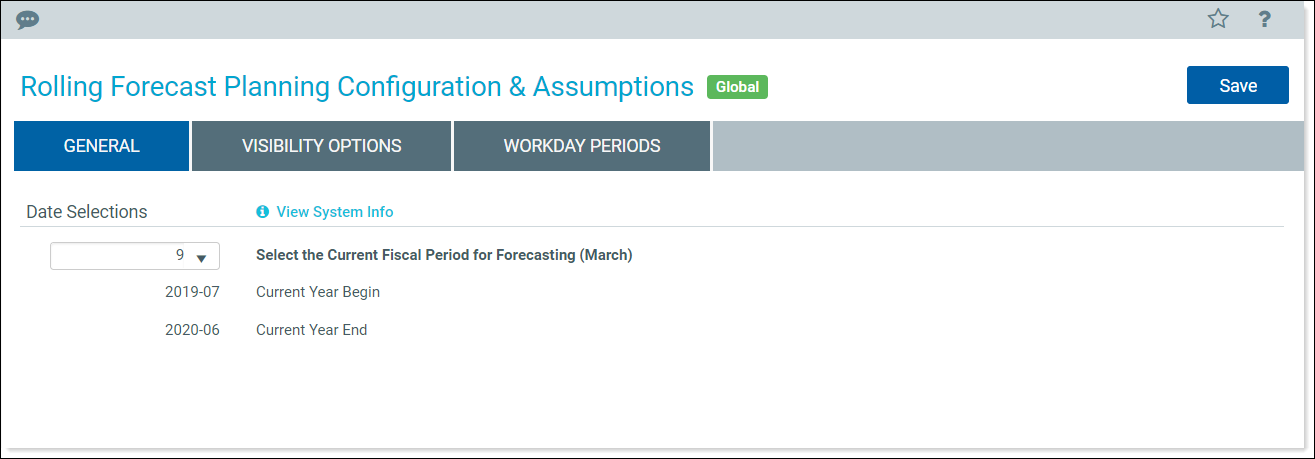
To set the current fiscal period for forecasting:
-
In the Date Selections column, select the desired fiscal period from the drop-down list. When you select a period, the corresponding month displays in parentheses at the end of the sentence on the right.
-
(Optional) To view planning and system information, click the View System Info link. The page expands to display date information, the selected planning type, and system settings. To collapse this information, click Hide System Info.
Use this tab to control which parts of the plan file display to users.
Select from the following options:
Use this tab to set the number of workdays in each month.
NOTE: If the forecast type is set to Quarterly, then quarterly totals will display in the days and hours in period.
- To select the default standard work hours for your organization, in the Hours Settings section, from the Annual FTE Hours drop-down, select one of the following:
- 2080
2086 (default)
NOTE: The Hours in Period are set for a 2086 FTE by default and must be changed if using 2080.
- In the Workday Settings section, do the following:
- (Optional) To view tables of historical actuals (Days in Period, Hours in Period), beside the Workdays table, click the View Additional Date Detail link. To hide historical actuals, click Hide additional Date Detail.
- For each column in the Workdays table, in the blue cells, type the number of workdays in that period if different from the displayed default.
-
- Click Save, and then in the confirmation dialog, click OK.
